Pumpkin Chia Granola Crisps

There is something so satisfying about the texture and crunch of granola on a parfait. I love granola, but I know when it comes to ingredients and sugar I have to be careful with store-bought brands. These simple crisps are easy to make, have a hint of pumpkin spice flavor, and have a lot less guilt involved. Check them Out! 


Ingredients
  • 1 Cup Gluten-Free Rolled Oats
  • 1/2 Cup Unsweetened Coconut Flakes
  • 1/3 Cup Brown Sugar
  • 1/4 Cup Almond Flour 
  • 3 Tbsp Natural Peanut Butter
  • 1 Tbsp Pure Maple Syrup 
  • 1/8 tsp baking soda
  • 1 tsp Pumpkin Spice 
  • 1 Tbsp Chia Seeds
  • 1 Tbsp Flax Seeds


Instructions
  • Preheat Oven to 325°F
  • Spray mini cupcake pan with nonstick cooking spray
  • In a medium-sized bowl, mix together all ingredients until slightly sticky
  • Press mixture firmly into the cupcake pan; about 3/4 full 
  • Bake 15 minutes until edges are golden brown 
  • Allow to cool in pan for 15-20 minutes, mixture will harden as it cools. 

  • Carefully pop granola crisps out with a fork 
  • Store in an airtight container at room temperature

Use these crisps to top your favorite yogurt or even ice cream. This parfait is 0% plain greek yogurt with sliced strawberries and a packet of stevia.

Fall Football Series: Gluten Free Vanilla Cupcakes with Buttercream Frosting

Baking is my favorite. I absolutely LOVE to bake. It is a huge stress reliever for me. It also is something fun to do with Gabe. He enjoys dumping all of the ingredients into the mixer and counting how many things we need to put into the recipe! He also loves to peek through the oven door to make sure everything is going okay. I also adore decorating cupcakes and cakes. It's become a passion of mine. Cupcakes (and buttercream frosting) are totally my weakness. I wanted to make a healthier version of the cupcake so when we treated ourselves we could really love up on that buttercream. (I was not about to sacrifice that frosting.) So to round out this Fall Football Series, I have our dessert: Gluten Free Vanilla Cupcakes with Buttercream Frosting


Cupcake Ingredients
  • 1 Cup Almond Flour 
  • 1/2 Cup Coconut Flour 
  • 2 tsp Baking Powder (gluten free) 
  • 1/4 tsp Sea Salt 
  • 1/2 Cup Unsalted Butter 
  • 3/4 Cup Coconut Sugar
  • 4 Large Eggs 
  • 1/4 Cup Unsweetened Vanilla Almond Milk
  • 1 tsp Pure Vanilla Extract
Frosting Ingredients 
  • 1 Cup (2 sticks) of Unsalted Butter
  • Powdered Sugar (see instructions for amounts) 
  • Splash of Almond Milk 
  • 1 tsp Pure Vanilla Extract
  • 1 tsp Pure Almond Extract 

I'm going to take you step-by-step exactly how I make these cupcakes. Let's jump right in!


Instructions (Cupcakes)
  • Preheat oven to 350°F
  • Place cupcake liners into you baking pan. Set aside. 
  • Combine almond flour, coconut flour, baking powder, and salt in a medium bowl; mix well. set aside. 
  • Cream together 1/2 cup unsalted butter and coconut sugar in a mixing bowl; beat on medium speed for approximately 1 minute. 
  • Add eggs one at a time; beat until well blended 
  • Add 1/4 cup almond milk and extract; beat until blended
    The mixture will look watery--do not worry! 
  • Add almond flour mixture to butter mixture slowly; beat until creamy; scraping the sides of the mixing bowl as needed.
  • Spoon batter into prepared cupcake pan; filling liners about 3/4 full.  
  • The batter is a bit sticky. Spoon it into the cupcake liners and gently smooth the tops as best as you can 
  • Bake for 25 to 30 minutes, or until a toothpick inserted into the center comes out clean. 
  • After 5 minutes transfer to cool on a baking rack. 


The tops of the cupcakes come out a bit bumpy, but, that's okay because, well... FROSTING! Which is my favorite part. It's definitely a treat, so I make sure to enjoy every second of it.

Instructions (Frosting)

  • Cream Butter in mixer until very smooth. 
  • Add Powdered Sugar 1/2 cup at a time, blending each 1/2 cup into the creamed butter until smooth. 
  • After about 1 1/2 cups of powdered sugar, add in almond and vanilla extract, mix in. 
  • Continue adding powdered sugar (We normally do 3-3 1/2 cups) to taste. 
  • Add in a splash of almond milk (about 1 Tbsp) and blend. 
  • Now you're ready to frost! I love using piping bags and piping tips, but you can spread it on with a knife too. Enjoy!!


    If you enjoy these cupcakes, please let me know! I love hearing from those who are reading the blog! 

Fall Football Series: Black Bean Fajita Burger

The second recipe in the fall football series is a Black Bean Fajita Burger. I'm not a huge meat lover (besides chicken and turkey), and Nate and I have meatless meals at least once a week. We LOVE burgers and usually do turkey burgers. However, when I have a little extra time on my hands I love to experiment in the kitchen. Black beans are a favorite of mine. I use them in my taco bowls, in salads, Gabe's quesadillas, mixed with cauli-rice... you get the picture. They're pretty versatile. They also provide a great base for a meatless burger! This burger is full of flavor and hearty without weighing you down. We were happy to add this to our favorites list! Even Gabe loved it, so it's totally toddler approved!


Let's get started!

Ingredients 
  • 1 can low-sodium black beans, drained and rinsed
  • 1/4 cup frozen roasted corn, thawed 
  • 1tbsp plain hummus 
  • 1/4 cup fresh cilantro, chopped 
  • fajita seasoning (we make our own) 
    • 1 tsp chili powder
    • 1/4 tsp cumin 
    • 1/4 tsp garlic powder 
  • 1 1/2 tablespoon extra virgin olive oil, divided use 
  • 1 tsp sea salt 
  • 1 tsp black pepper 
  • 2 large eggs
  • 1 1/2 cup panko bread crubs 
  • 5 slices pepperjack cheese 
  • 1 red bell pepper, sliced 
  • 1 yellow bell pepper, sliced 
  • 1/2 red onion, sliced 
  • 1/2 cup guacamole (we made our own) 
    • Pulse 1 avocado with 1/3 cup fresh pico de gallo 
  • 5 hamburger buns of choice 
Instructions 
  • Preheat oven to 425* 
  • In a large blender (we have a ninja) or food processor, place the beans, corn, hummus, cilantro, fajita seasoning, olive oil, and pepper (salt is optional). Pulse until a chunky paste forms. The mixture shouldn't be fully smooth (some bean pieces are okay!) Pour paste into a large bowl. 
  • In a separate small bowl, whisk two eggs. Pour eggs into the bean paste and stir to combine. Add in the panko. The resulting consistency should be thick. 
  • Make 5 large patties out of the bean mixture and place on a foil lined baking sheet. 
  • Cook the patties for 18 minutes, place cheese slices on the burgers and cook for 2 minutes more.
  • While the burgers are in the oven, prepare the veggies. 
    • In a large skillet over medium-high heat add the peppers, onions, and 1/2 tbsp olive oil. Cook, stirring occasionally, until the veggies have a slight char and are soft. 

  • Place burgers on the bun, top with guacamole and fajita veggies and enjoy!
These burgers are perfect for fall and winter because they don't require a grill. They're quick and easy to put together and are a great meatless option! I run healthy lifestyle groups each month where I share meal plans and recipes. If you're interested in learning more or joining one, please fill out this form and I will get back to you shortly. 


Fall Football Series: Healthy French Onion Dip

Football is a big deal in our house. We love fall and we love football: especially college football. I'm a huge Michigan State fan and Nate is a huge Penn State fan. Our Saturdays consist of Gabe choosing which colors he's wearing, grocery shopping early, and coming home to whip up something yummy to snack on during the games. I took three of our favorite things: French Onion Dip (a family favorite), Burgers, and Cupcakes and switched them up a bit to be a little more guilt-free. 


Without further ado, here is the first recipe in this short, three-part series: Healthy French Onion Dip

Ingredients

  • 2 Tbsp. olive oil
  • 2 large onions, chopped 
  • ½ cup low-sodium organic beef broth
  • 2 Tbsp. Worcestershire sauce
  • ½ tsp. garlic powder
  • Sea salt 
  • 2 cups reduced-fat (2%) plain greek yogurt

Instructions


  • Heat oil in medium saucepan over medium-low heat.
  • Add onions; cook, stirring frequently, for about 20-25 minutes, or until onions are soft and golden brown.
  • Add broth, Worcestershire sauce, and garlic powder. Season with salt and pepper if desired; cook, over medium heat, stirring frequently, for about 5 minutes, or until broth has cooked down. Remove from heat. Let onion mixture cool completely.


  • Combine onion mixture and yogurt in a medium bowl; mix well.
  • Chill, covered, for 1 hour.
  • Serve with veggie chips or raw vegetables for dipping.


I hope you enjoy this guilt-free version of one of our favorite tailgate snacks! No one will ever know it's healthy ;)

The Secret's Out!


Fall means cozy sweaters, colorful leaves, football, and... yep, pumpkin! You all know from my last post that I'm a fan of all things pumpkin!!

That's why I can't keep this a secret any longer. My favorite Superfoods are going to be available in the BIGGEST and BEST flavor of the season! 


Pumpkin Spice Shakeology!

Starting on September 17, 2018 in the US and on October 11, 2018 in Canada, you can order Vegan Pumpkin Spice Shakeology in 14 single-serve packet boxes! 


This means you can enjoy the deliciousness of pumpkin spice (cinnamon, nutmeg, ginger) without derailing your health and fitness goals or your calorie intake! when you mix it with almond milk and frozen spinach or ice it tastes like a dessert!

Shakeology has many healthy benefits and is crafted with a blend of protein, probiotics, prebiotics, digestive enzymes, antioxidants, vitamins, and minerals. This magical shake makes my hair and nails grow like a weed, and allowed me to go from an abnormal stomach X-Ray in February, to having my digestive issues resolved by May.


Why Is Pumpkin Spice Shakeology Better? 

A latte can cost you at least 380 calories, is usually loaded with sugar, and has a very limited nutritional value.... don't get me wrong. I love to treat myself with at least one or two per season. That being said, I'm super excited that I may not have to do that! I can indulge in this pumpkin spice shake EVERY day without feeling guilty! It helps me fill any nutritional gaps I may have and it also helps me properly nourish my body.

Pumpkin Spice Shakeology is going to be one of the best ways to invest in my health with the business of back to school.

If you'd like to be the first to know when this treat is available please fill out the form below and I'll be in touch to give you more information! 


Pumpkin Spice Creamer

I don't know about you, but once school and football season start, I'm extremely ready for all things fall. Cooler weather, leaves turning colors, boots, sweaters, and yes... pumpkin. I love indulging in pumpkin flavored things. I enjoy treating myself with a Pumpkin Spice Latte with Coconut Milk from Starbucks once or twice a season. I also love pumpkin spice coffee creamer. I know the store bought creamers have a lot of additives and as a family we're trying to be better about eating as clean as possible. I decided to find a way to indulge without too much guilt. The result was this homemade creamer. It's dairy-free and all natural; It has a light and subtle pumpkin flavor, and allows us to treat ourselves each morning with a touch of fall.


This recipe only has five ingredients, and it took about five minutes to make. If I had known it would be this easy to make my own coffee creamer, I would have started a long time ago! Let's dive in.

Ingredients: 
  • 2 Cups Unsweetened Vanilla Almond Milk 
  • 3 Tbsp Pumpkin Puree
  • 1 1/2 tsp Pumpkin Spice 
  • 1 tsp Pure Vanilla Extract 
  • Stevia, to taste (we used 3 packets of Truvia)*


Directions: 


  • Place all ingredients in a medium sauce pan over medium-high heat
  • Whisk ingredients together and heat through until almost boiling 


  • Transfer creamer into a container with an airtight lid. (we used a fun mason jar) 
  • Let cool with lid off before transferring to the fridge to store. 
  • Enjoy!  Remember to shake before using, as contents can settle at the bottom. 

*If you prefer, you can use 1tbsp pure maple syrup in place of stevia. It's all up to your preference! You may also alter the amount of puree and spice if you'd like less pumpkin flavor as well (but I don't know who would want to do that! 😉)

If you're interested in joining one of my healthy lifestyle accountability groups, where we share lots of motivation and clean recipes, please fill out this form and I'll get back to you shortly!

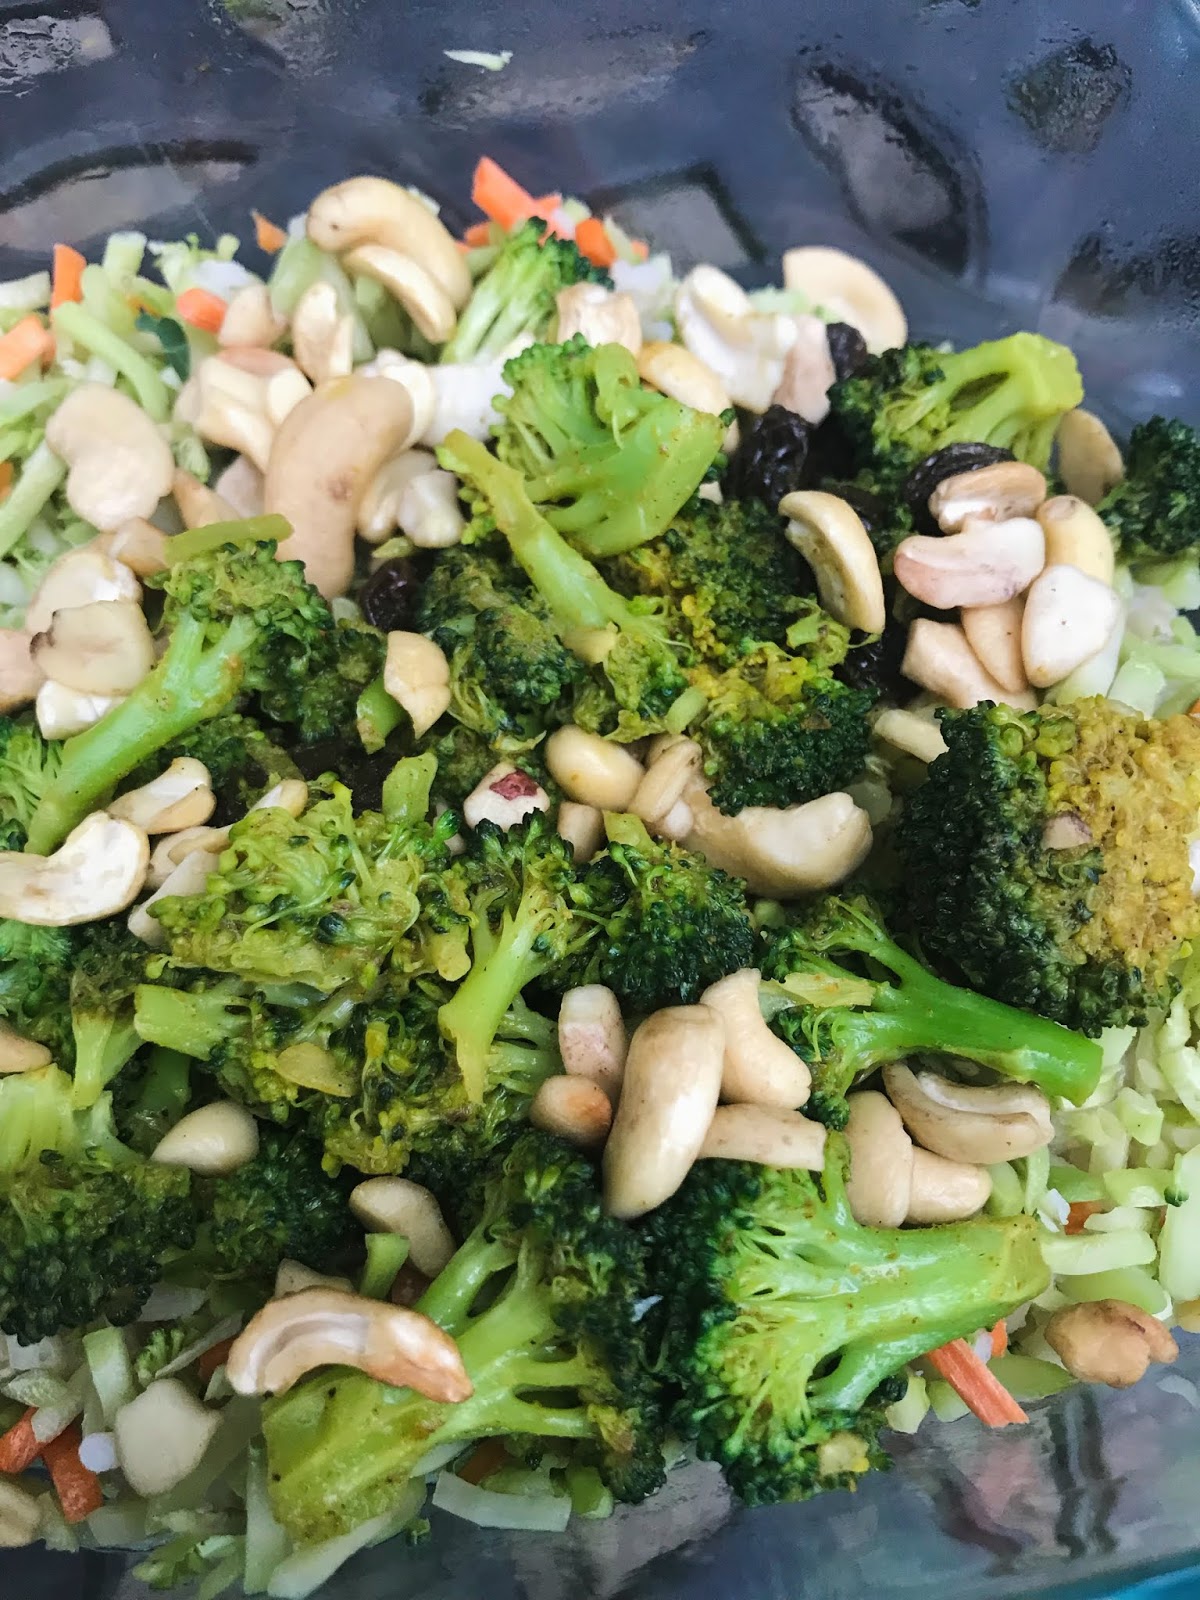
Broccoli Coconut Curry with Rice


When it comes to dinner, Nate and I are creatures of habit. When we find something we like, we stick to it and use it in rotation for a few weeks until we need something new. We also like easy! We don't have a ton of time at night to hang out with Gabe before he's asleep so quick and easy dinners are go-tos at our house during the week.

This recipe was a fast favorite at our house. It's light and flavorful, and it fills you up without weighing you down.

Ingredients
  • 3/4 cup canned coconut milk 
  • 2 tsps curry powder
  • 2 cups broccoli florets, chopped 
  • 2 cup broccoli slaw (cut into small pieces to mimic rice) 
  • 1 cup cooked rice (we like to use brown rice) 
  • 2 tbsps raisins 
  • 4 tbsps raw cashew pieces 
  • sea salt to taste 
Directions

  1. Heat up a large skillet over medium-high heat. Add in coconut milk 
  2. Stir in curry powder and heat through for two minutes. 
  3. Add the broccoli florets and raisins and cook until tender, about 4-6 minutes. 
  4. Chop the broccoli slaw (quick tip: use kitchen scissors and cut!) into rice-sized pieces. In a microwave safe bowl combine the broccoli slaw "rice" with cooked brown rice. Heat through in the microwave. 
  5. Top rice mixture with coconut curry mixture. Sprinkle each serving with 2 tbsps of cashews and add sea salt to taste. 
Tah Dah! Not only is this quick and easy, it also has a hearty serving of vegetables which will keep you feeling full until bedtime. This recipe makes two servings. We love doubling the batch and taking some to school for lunch the next day.

Enjoy!

If you're interested in joining one of my healthy lifestyle accountability groups to learn more about meal planning, nutrition, and fitness, please fill out this FORM and I will get back to you shortly.